If you thought ascending to Nyabitaba Camp which is at 2651 meters Above Sea Level was suicidal, think again. I present to you the trek to John Maata Camp – the muscle flexor, the assessor and the annihilator!
John Maata camp sitting at 3505 meters Above Sea Level is positioned in such a way as to make you rethink your decision. In my opinion, the challenges you get while ascending to Nyabitaba Camp are 50% of what you get while ascending to John Maata.
The trek from Nyabitaba Camp to John Maata Camp took me and fellow hikers with whom I trekked nearly 10 hours to complete. Though some of my colleagues got to the camp in about seven hours, others arrived three hours after us. So yes, a couple of hikers got to John Maata between 9:00 – 10:00 pm.

This can be very challenging especially if it’s your first time to hike this mountain but also hiking through a trail for the first time in the night.
That’s why its advisable to stick to a pace throughout. Stay within a range that will keep you motivated and also never feels lonely.
What makes Trekking to John Maata Camp Challenging?
At 3505m ASL, you should expect a steep hike and many hours of traversing through different terrain. At some sections, you’ll steeply ascend while at others, you will be descending or trekking on flat ground.
What may tear you down is not only your energy levels going low but also working your muscles out as you traverse the boggy, rocky and steep sections of this trek.
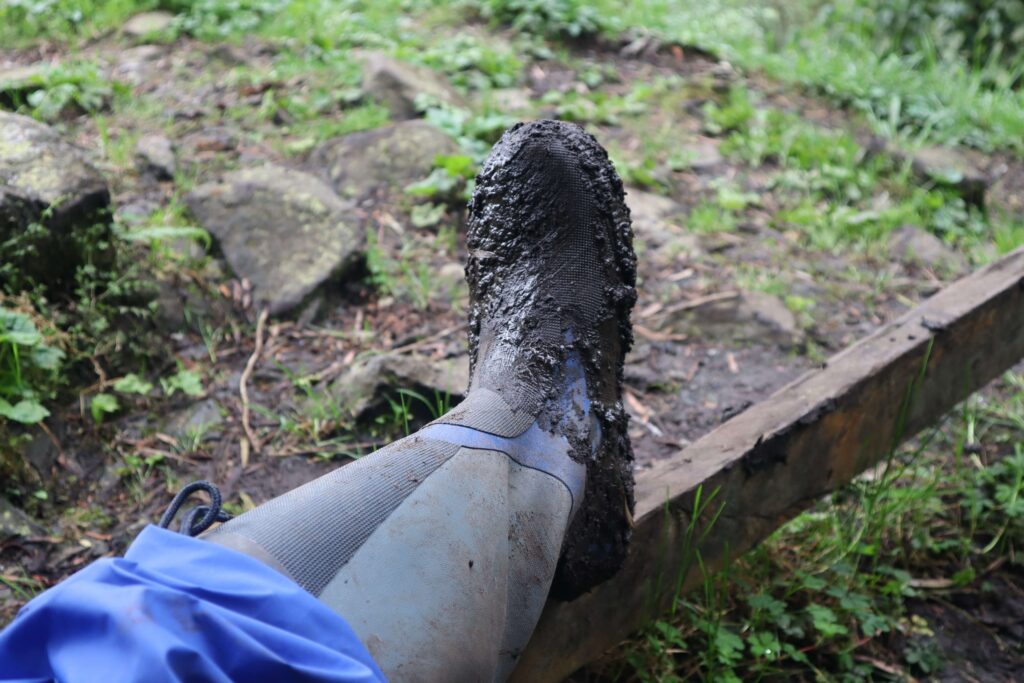
I felt the pinch of this trek when the bog became unbearable. Seeing my gumboots muddy to knee level while other colleagues had mud go up there trekking pants, making them wet and dirty.
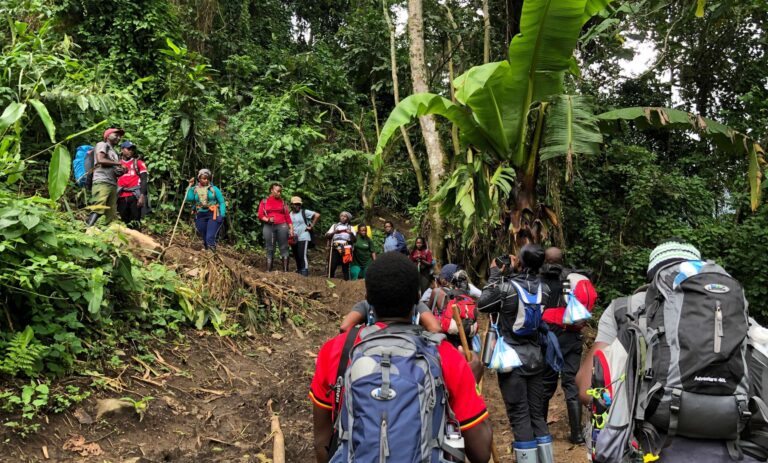
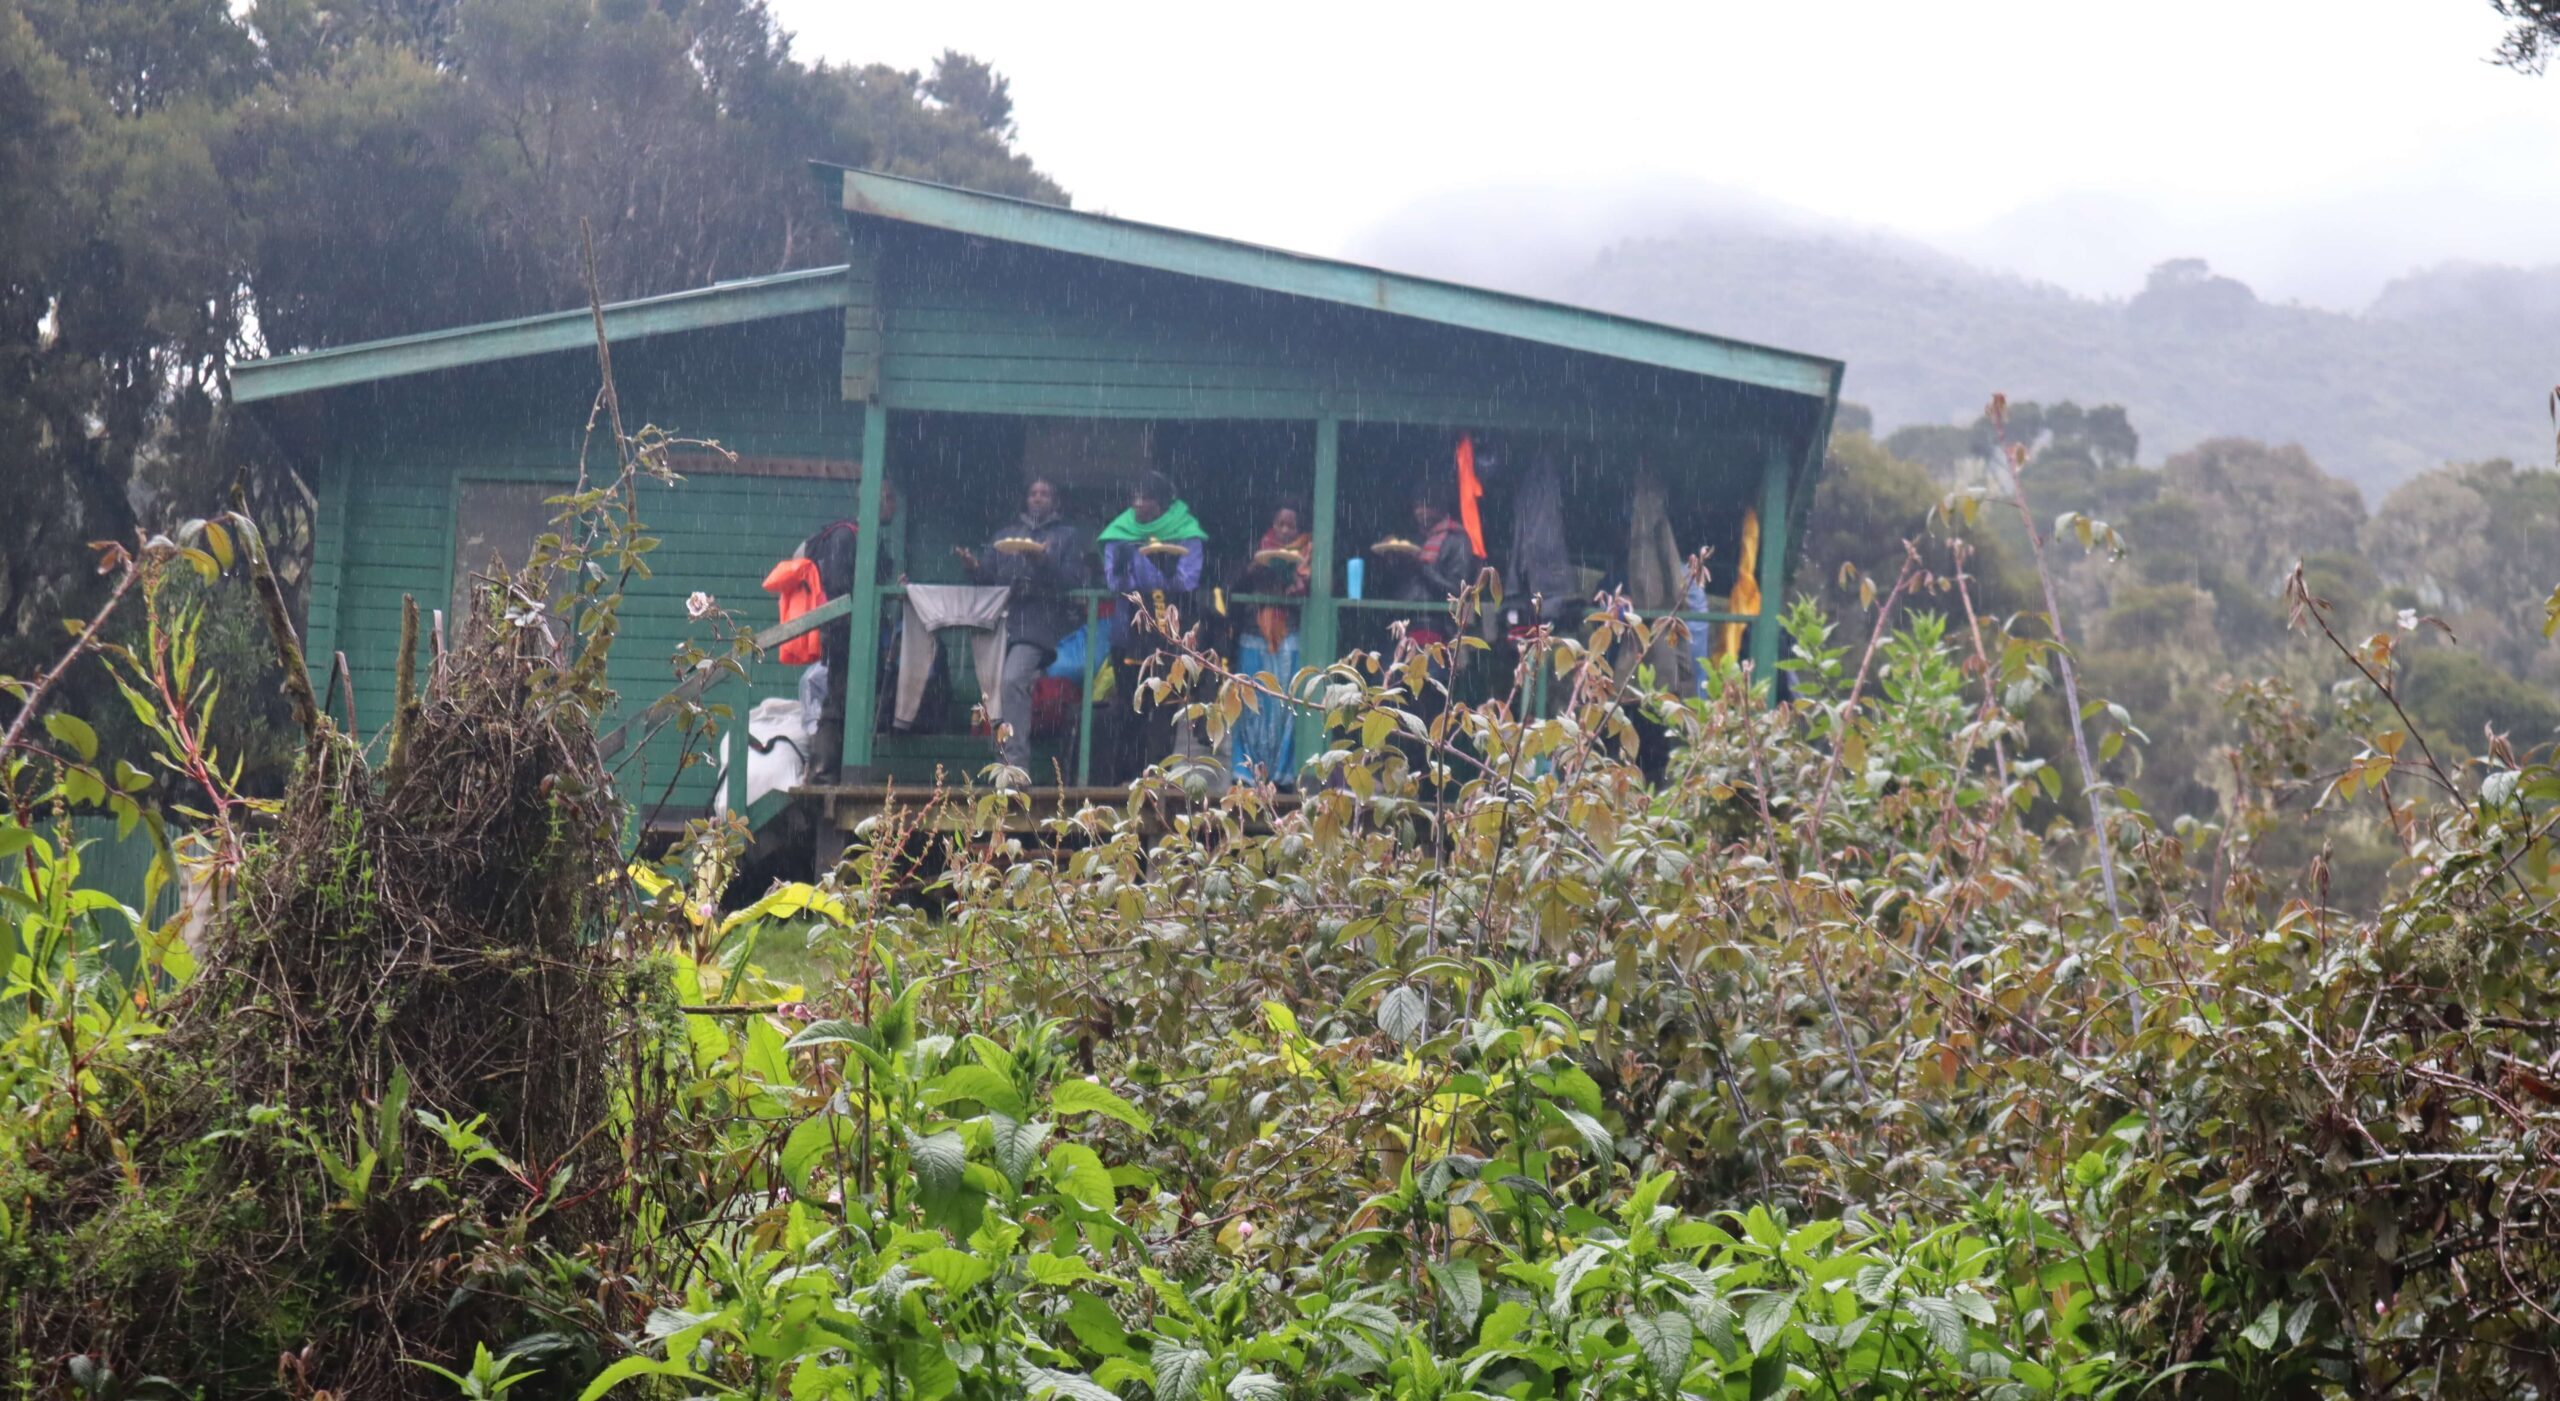
None the less, trekking to John Maata is longer compared to trekking from basecamp to Nyabitata camp. In fact, there are two resting points on the trek to John Maata. When you get to the first resting point, you feel like you’re midway the trek yet the actual lunch point is a long way ahead.
I remember when my team and I reached the first resting point, we thought we were almost there and this was like after four hours of trekking. Little did we know that this is just a rest point, not even the lunch point or midway either.
After taking some water at the rest point, we hiked on. As we continued hiking, we couldn’t hold it any longer therefore decided to grab our lunch, in the middle of nowhere! What I remember however is that we still hadn’t reached the lunch point, which was positioned somewhere in the middle of the trek.
Anyway, that didn’t deter us. We kept on pushing and enjoying every moment; taking pictures, enjoying the boardwalks, sipping some water from the rocks and having teacher-student moments with the guides as they enlightened us about the different sections/layers of this mountain.
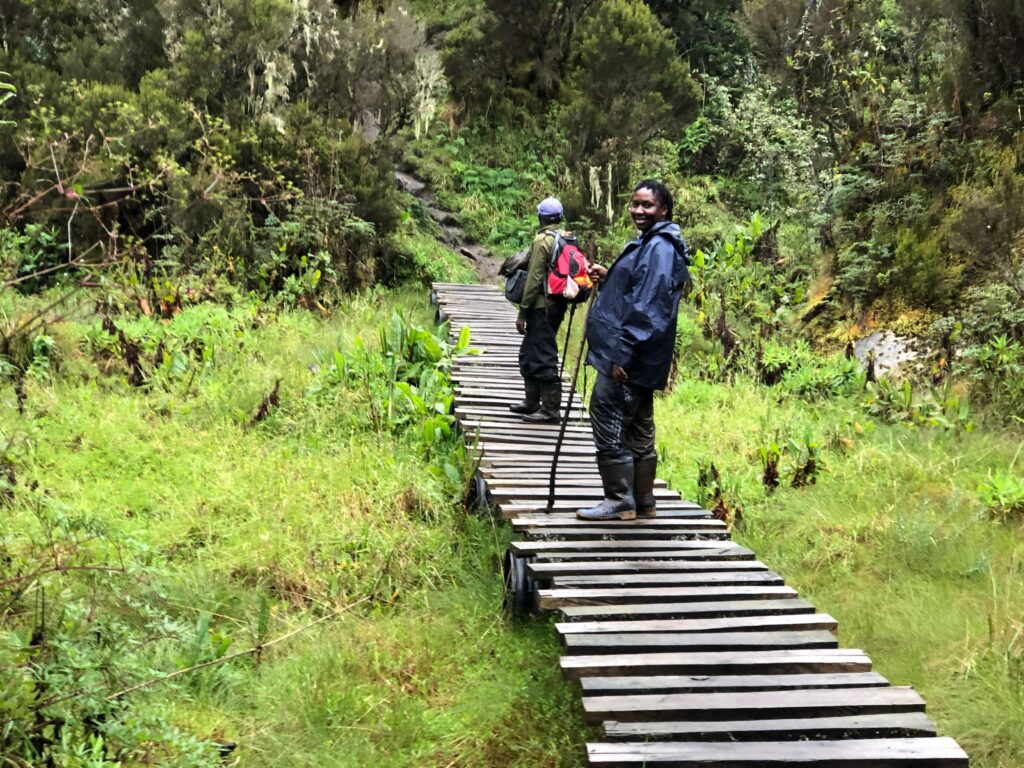
A photo moment at this beautiful board walk in Mt Rwenzori doesn’t kill 
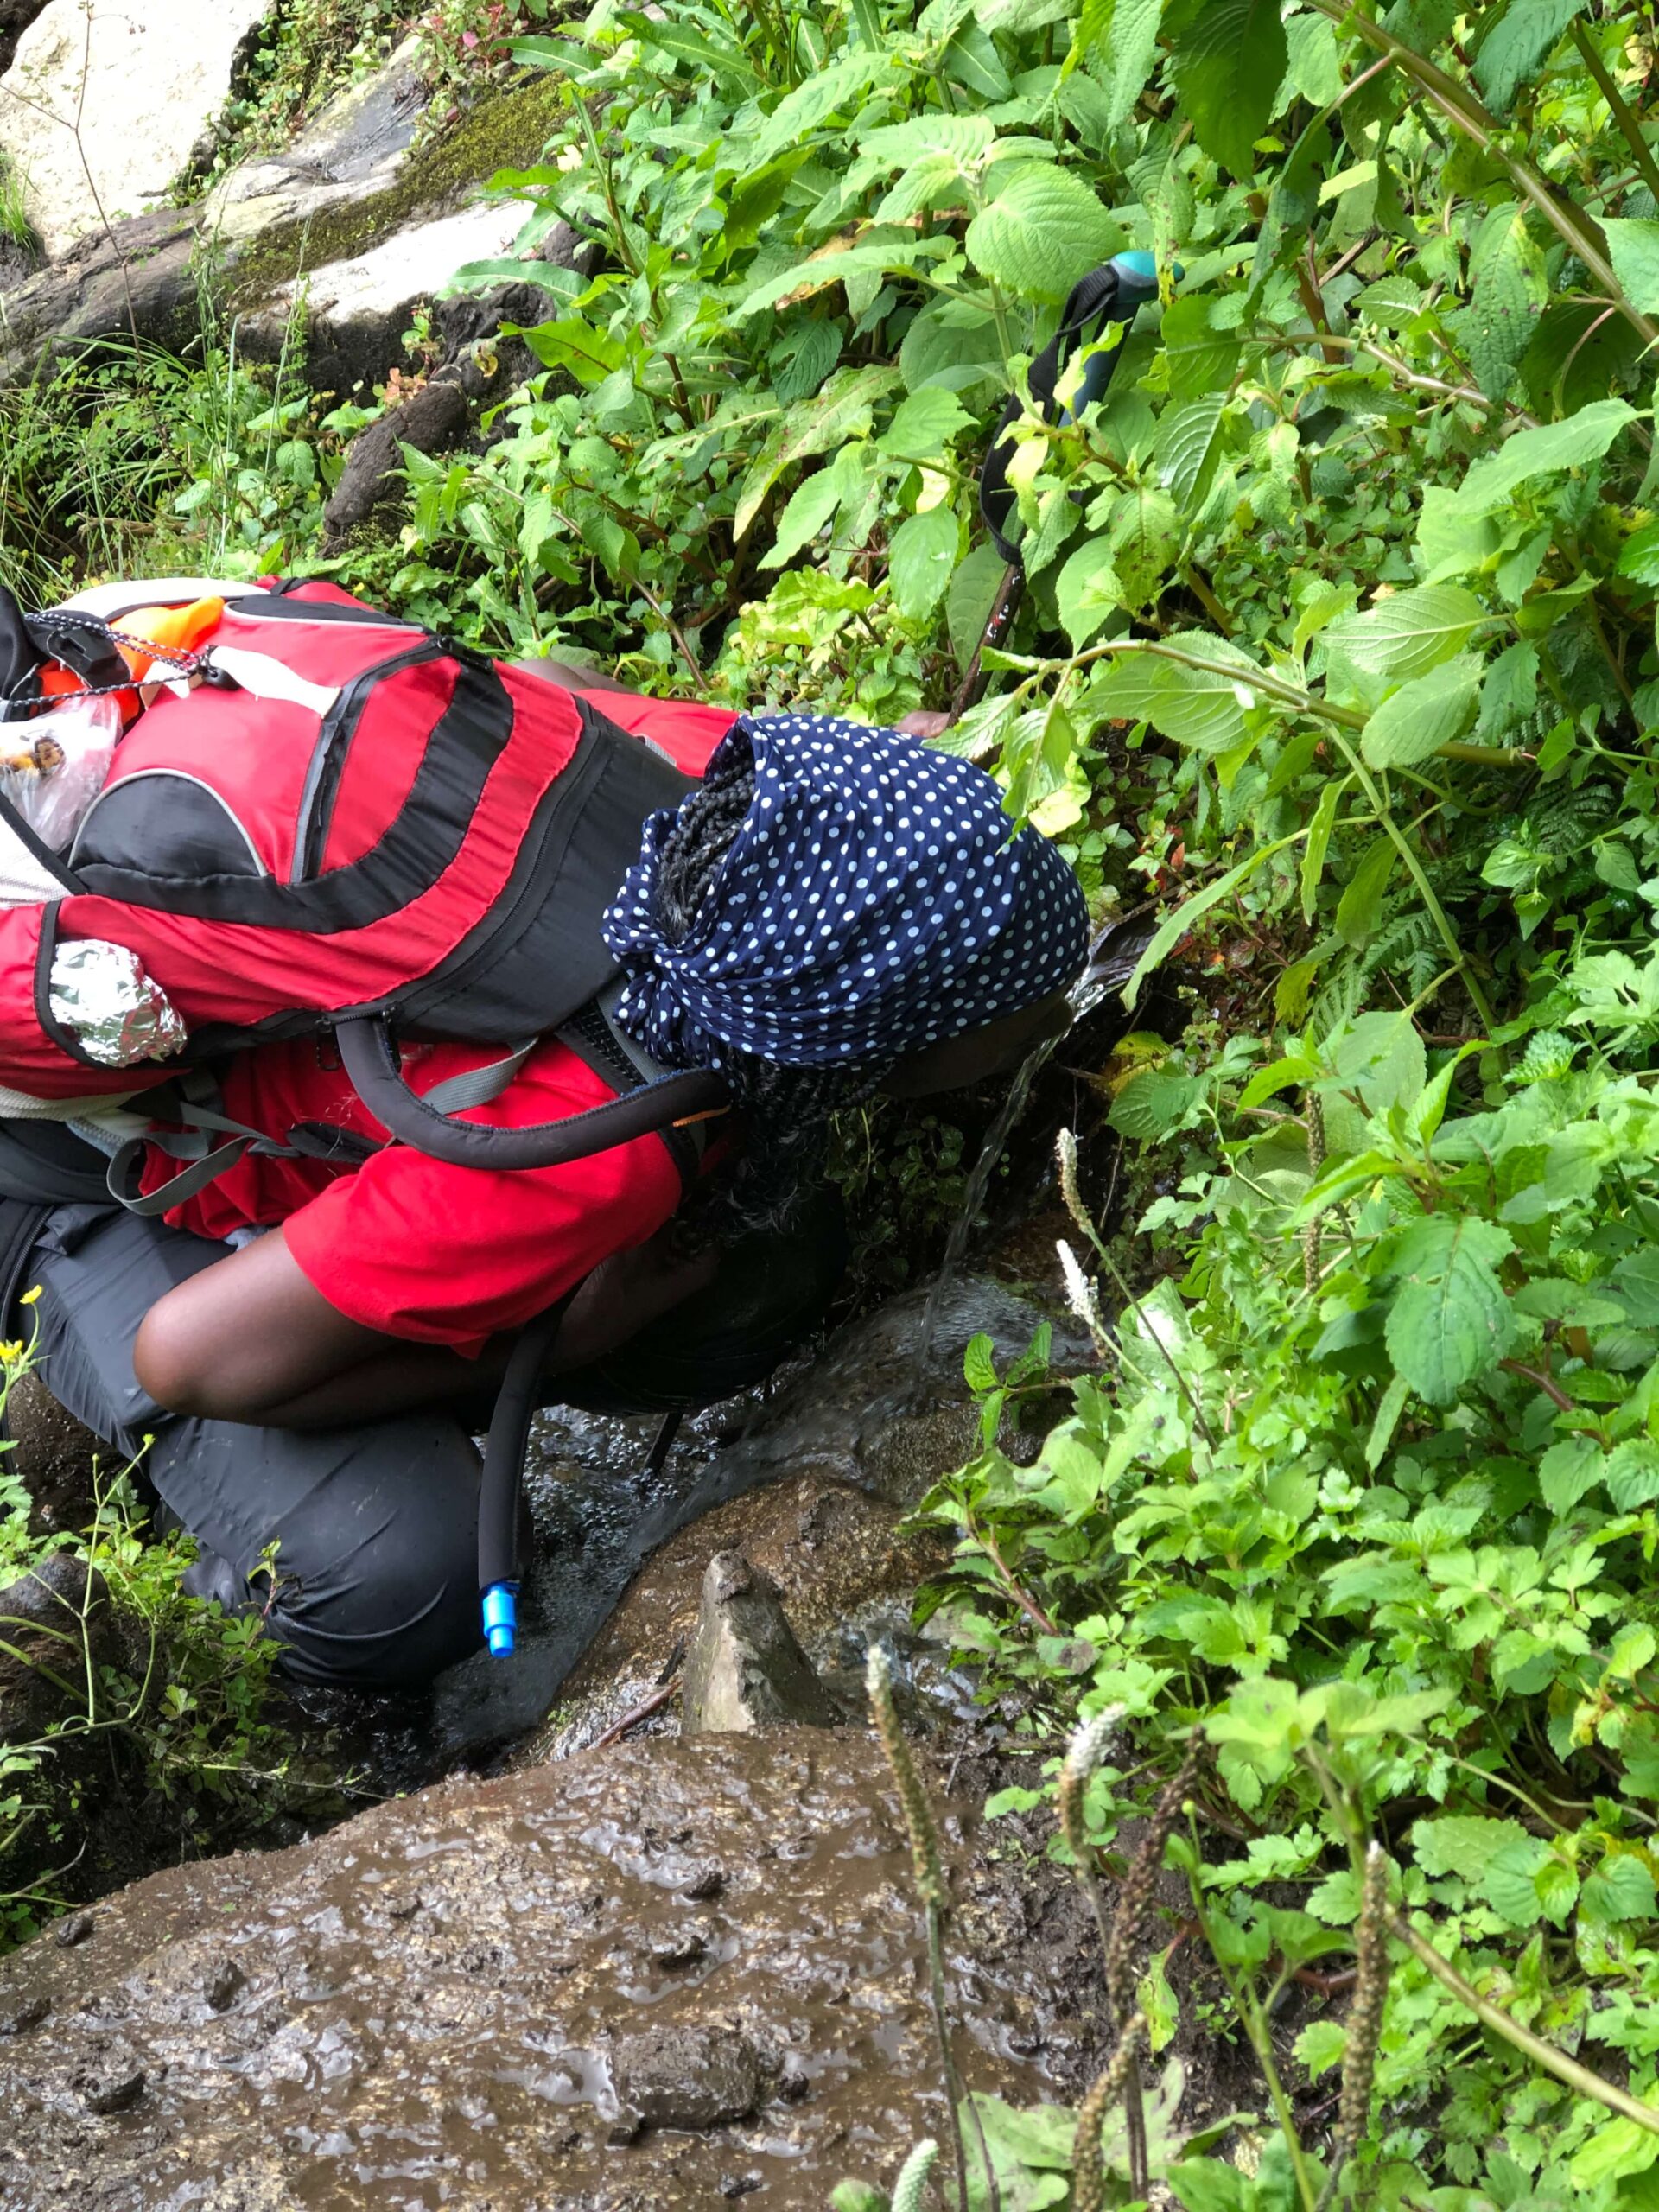
You can drink pure clean water anywhere in the Rwenzori mountains 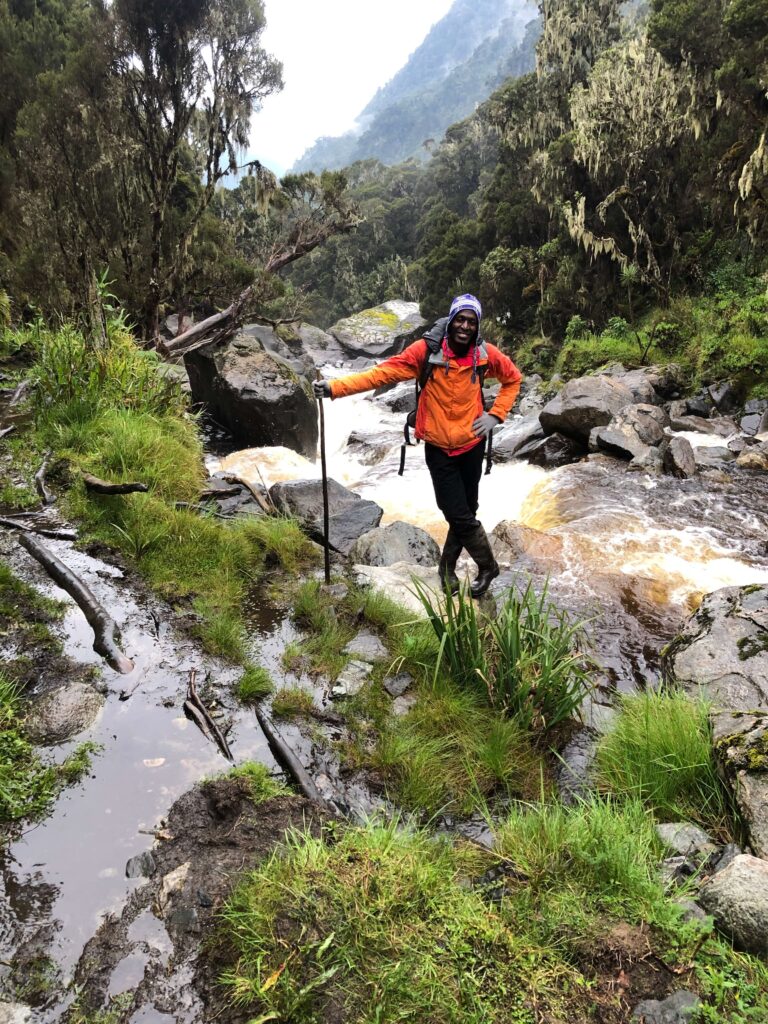
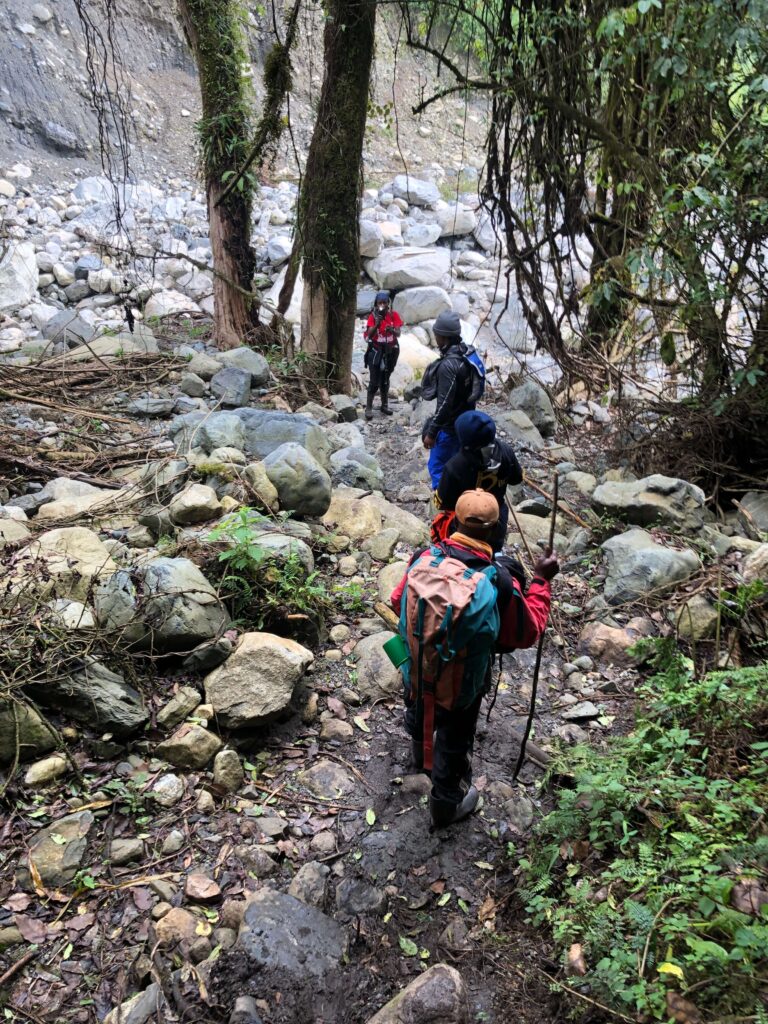
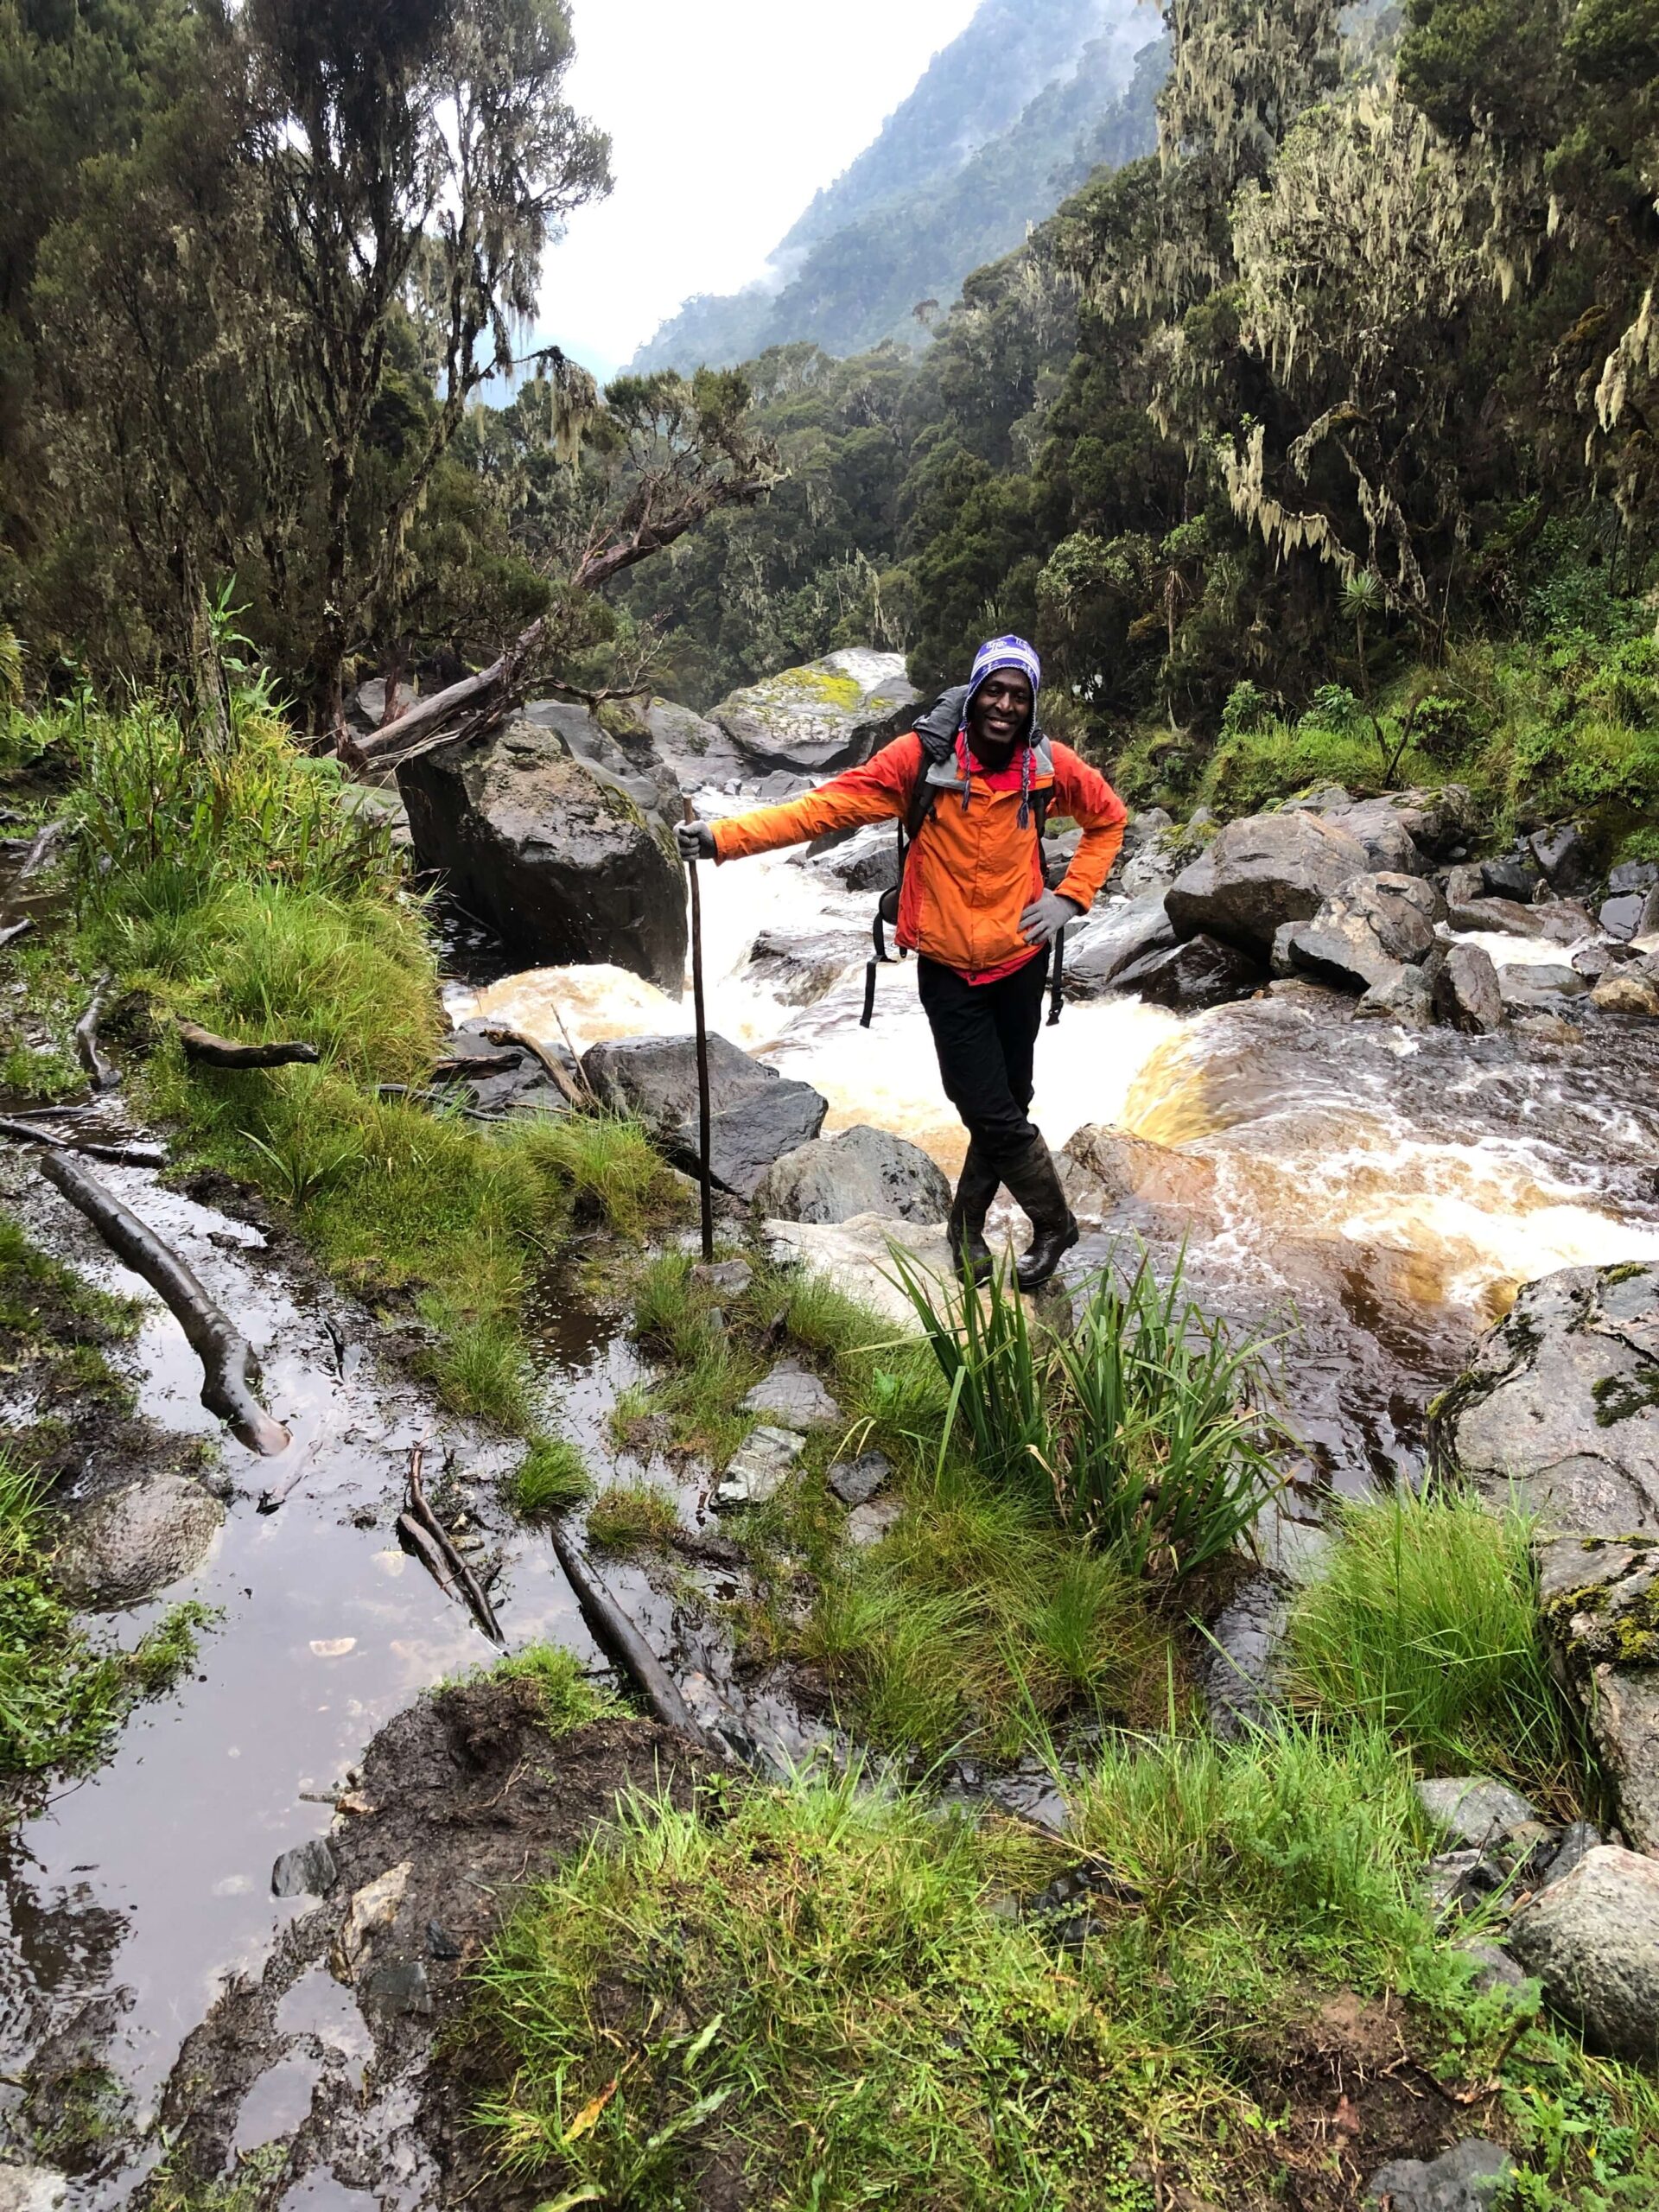
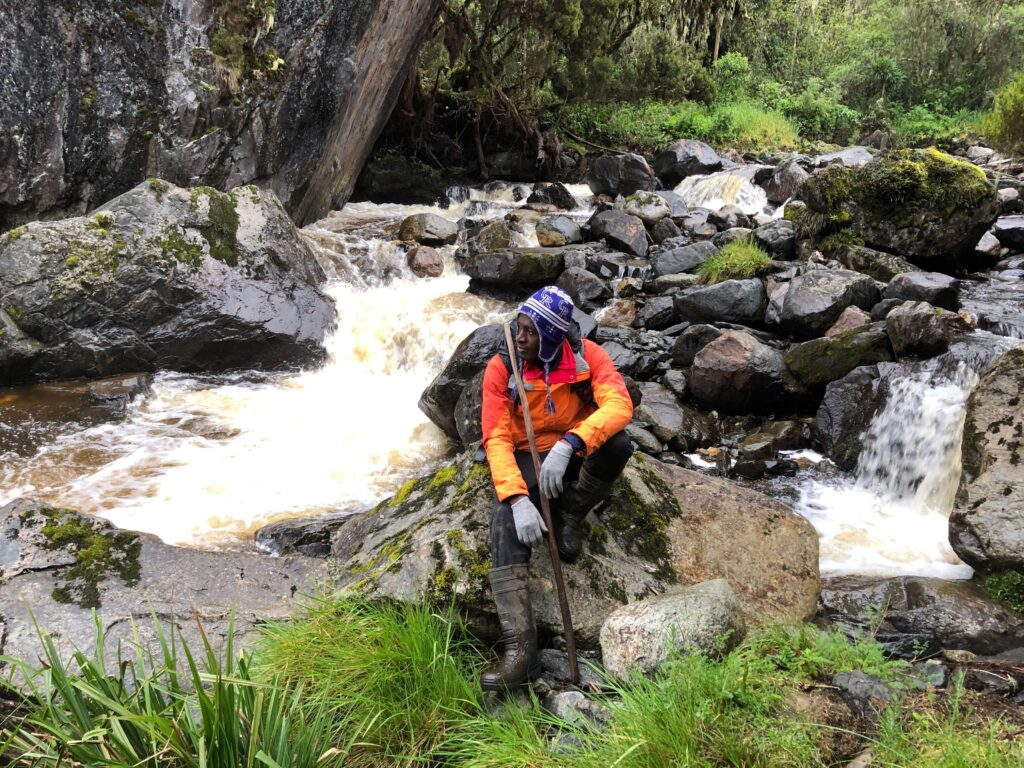
Photo moment as we approached a section of R. Mobuku


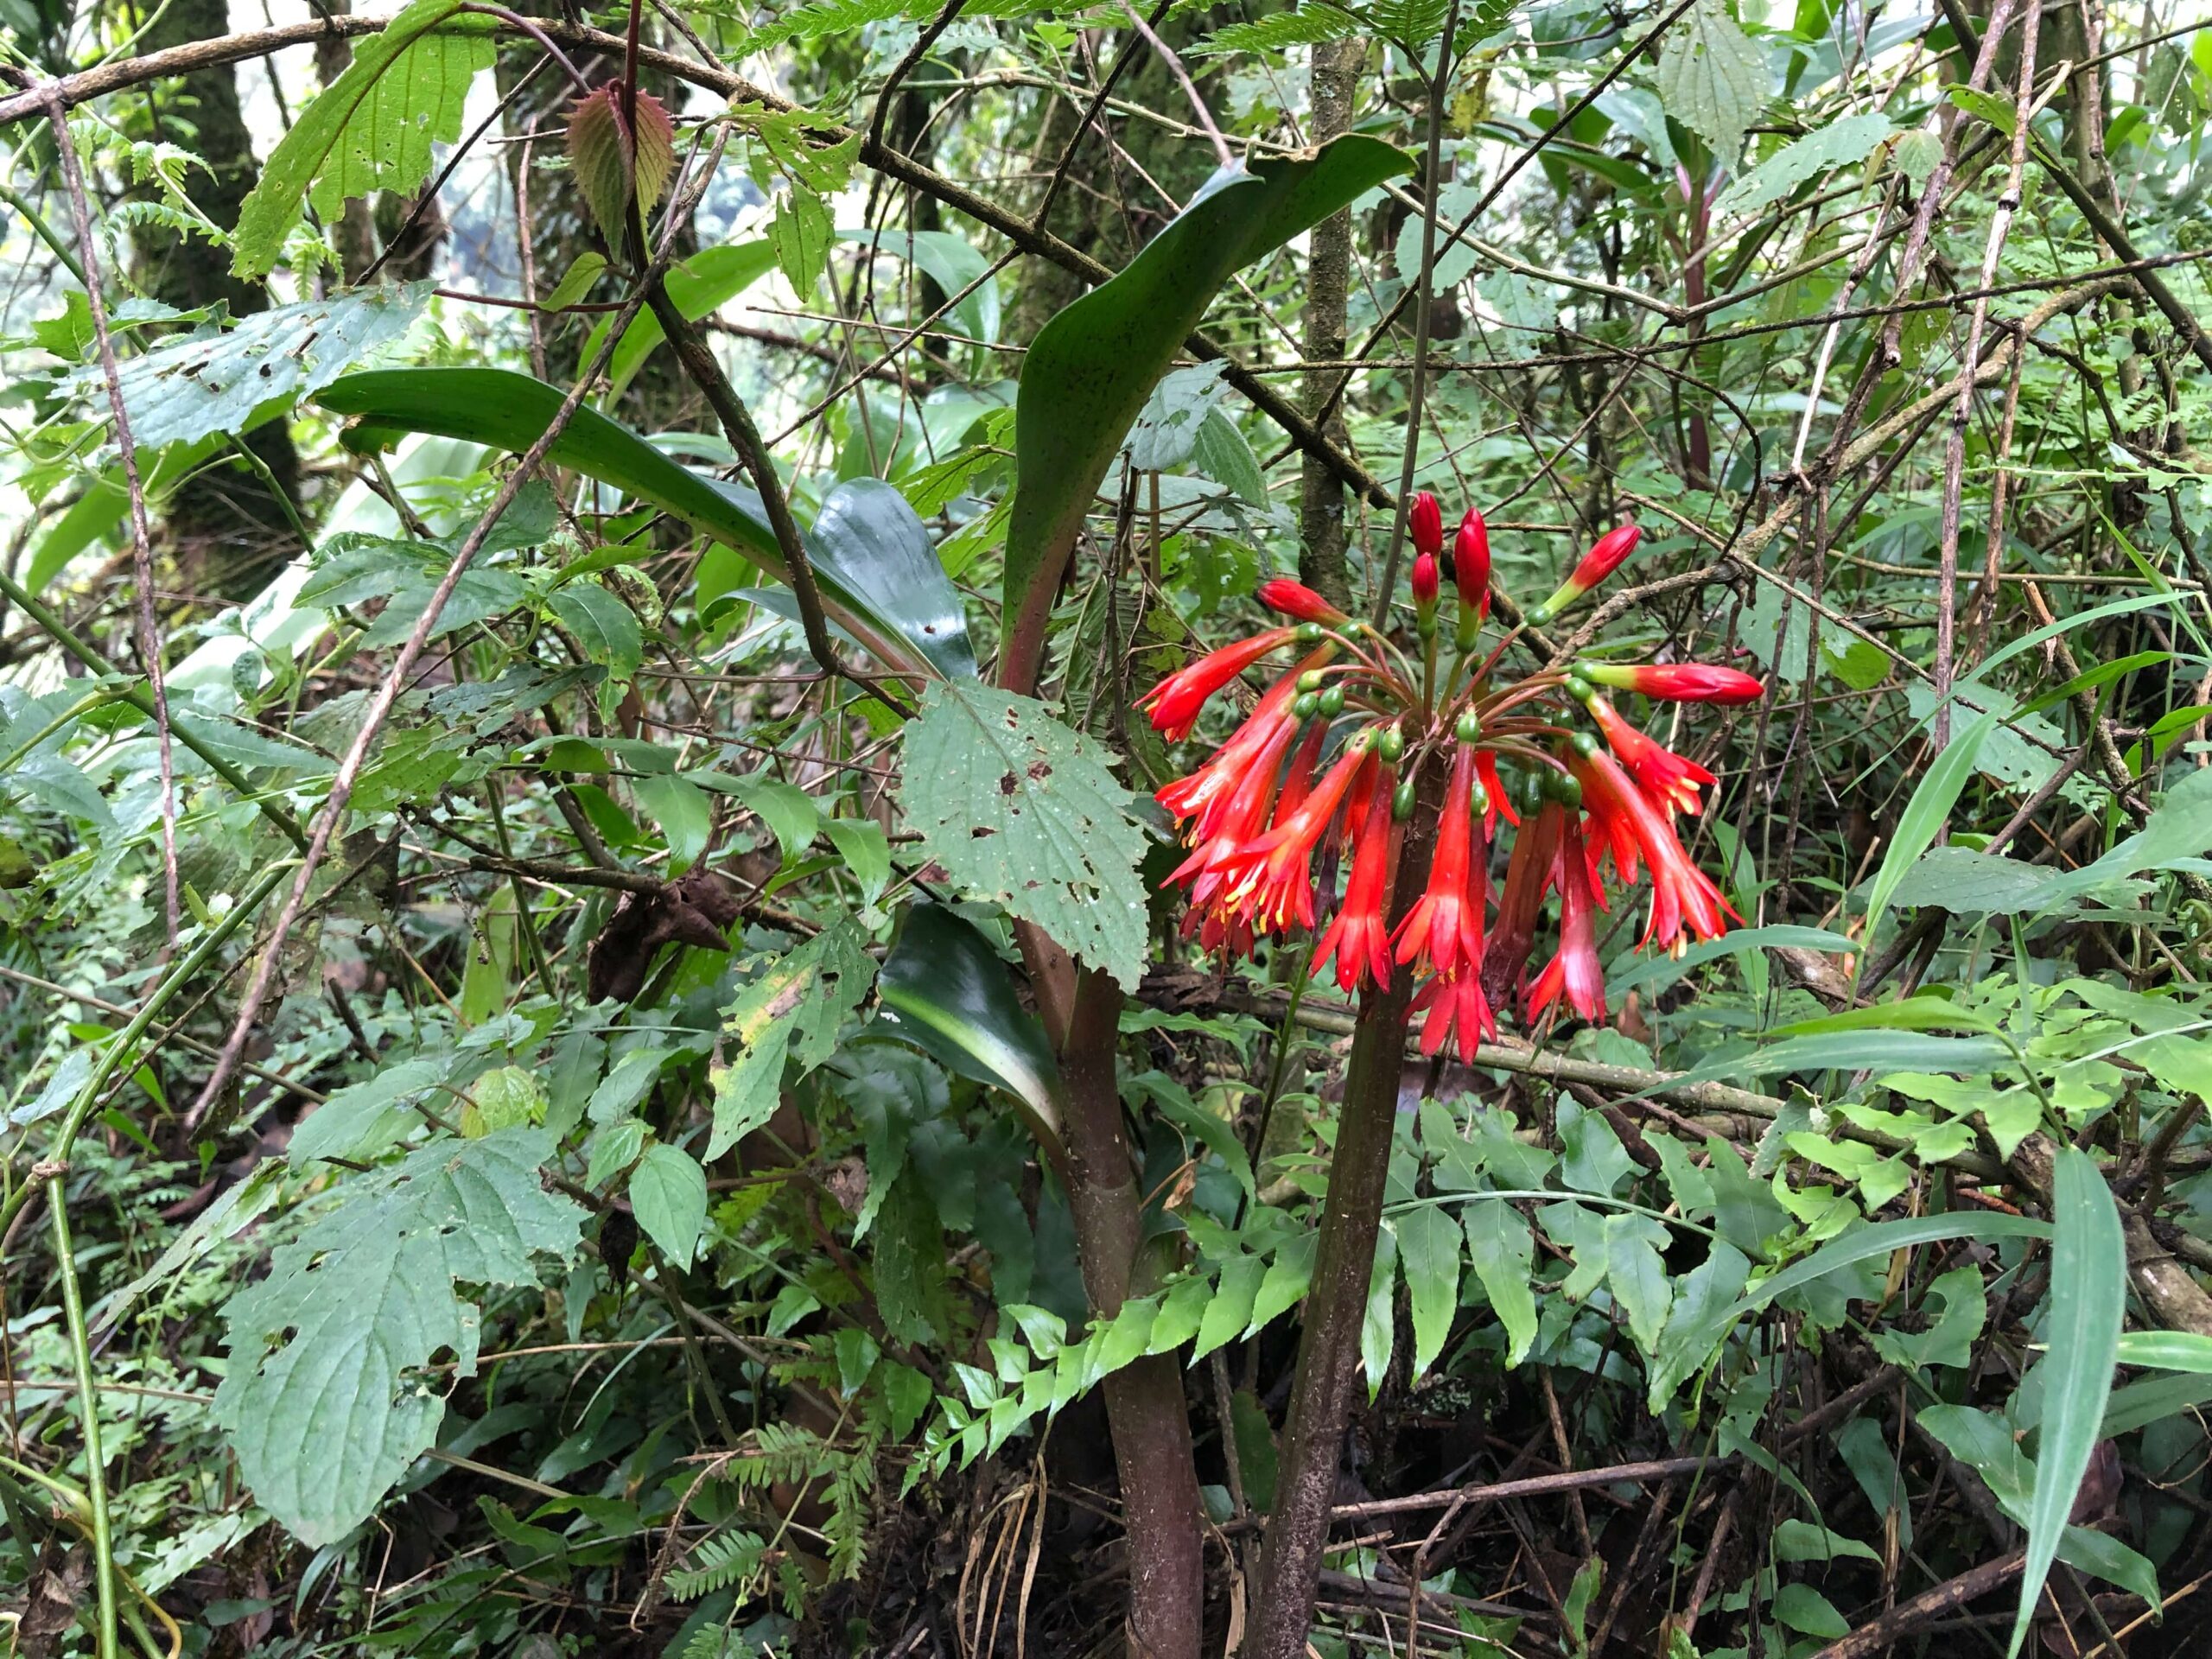
Since the vegetation changes in higher altitude, it makes every section of this mountain distinct and that made me appreciate every moment I had while hiking Mt. Rwenzori.
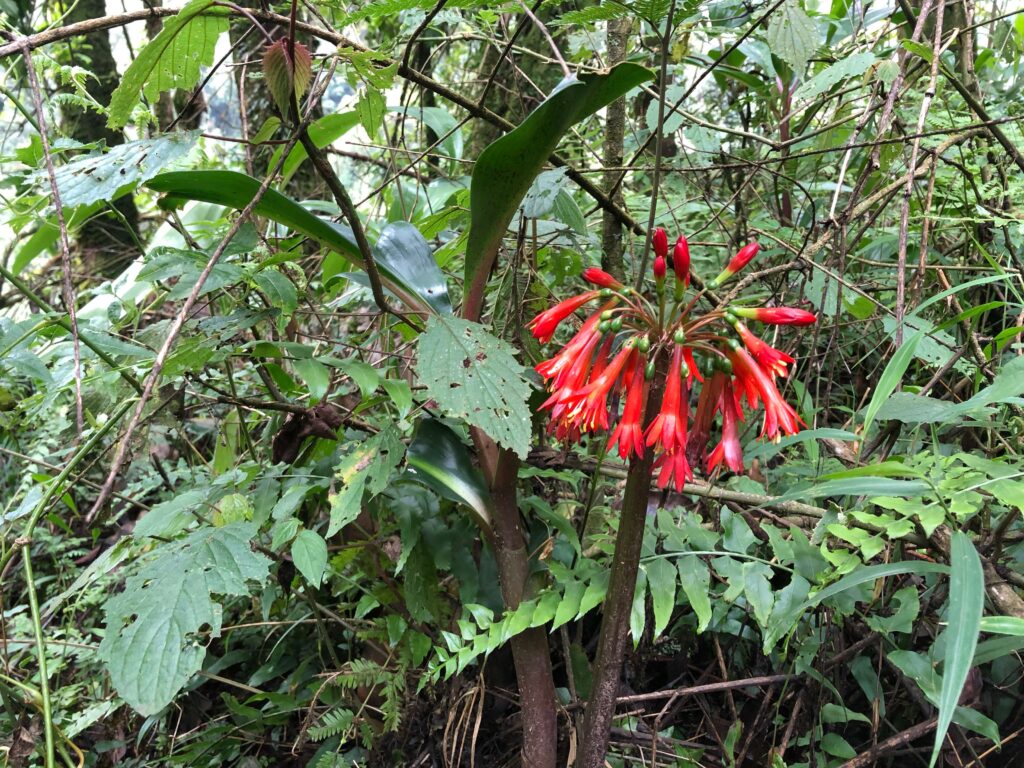
Mt Rwenzori Flora 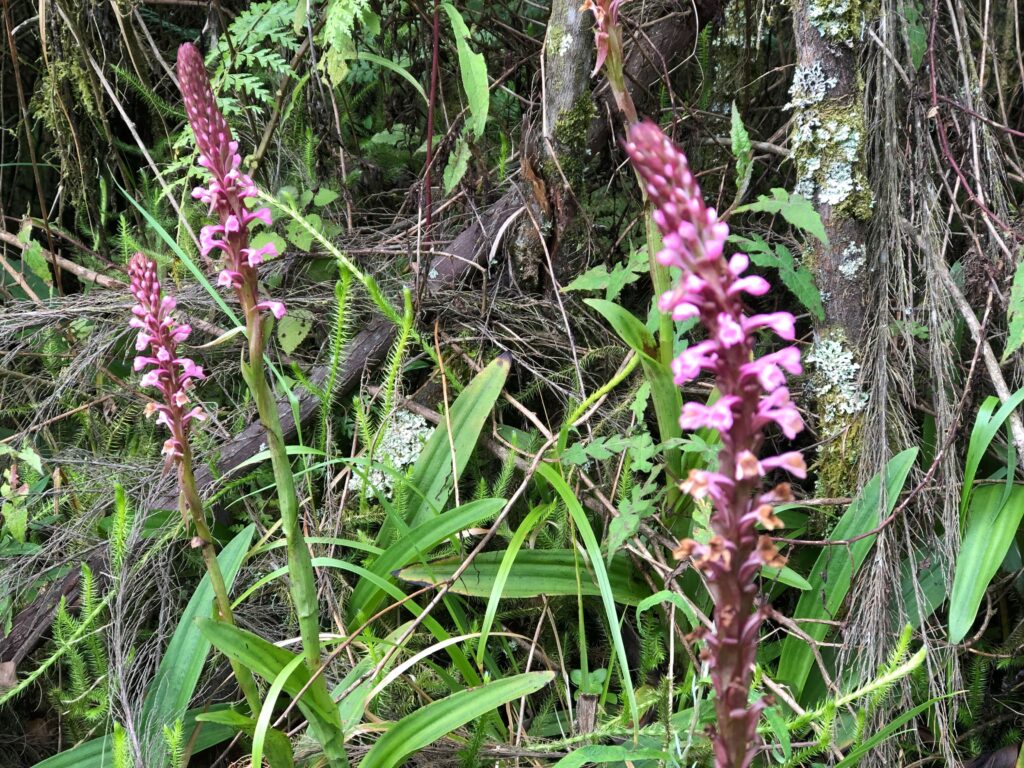
Mt Rwenzori Flora 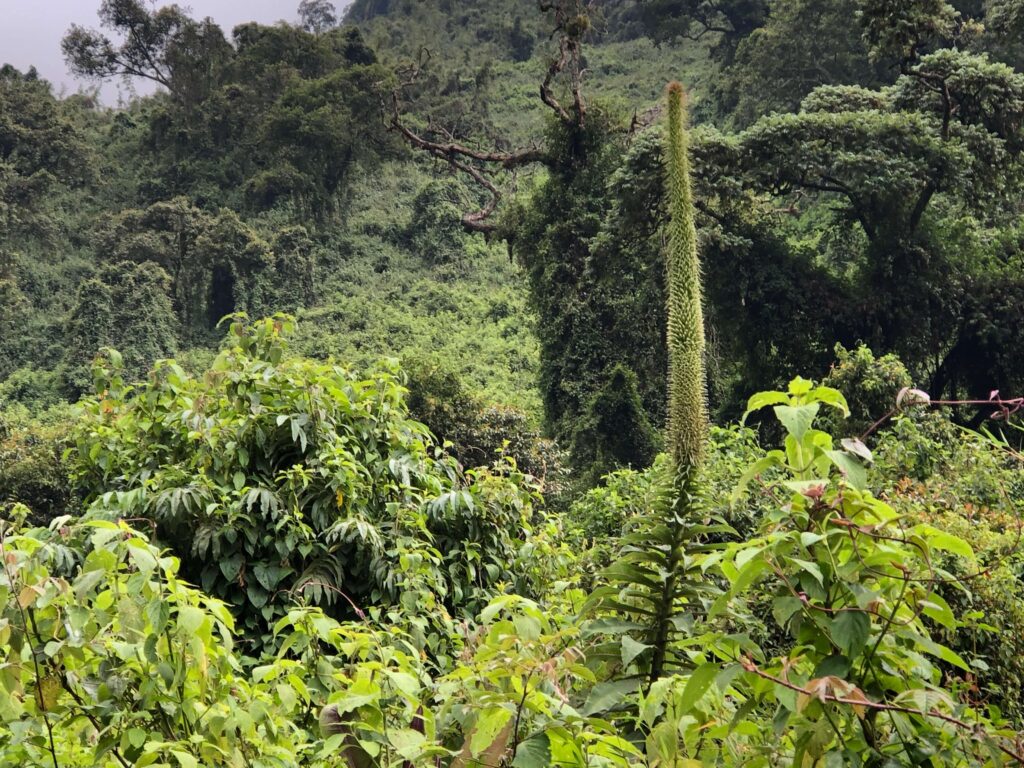
Mt Rwenzori Flora 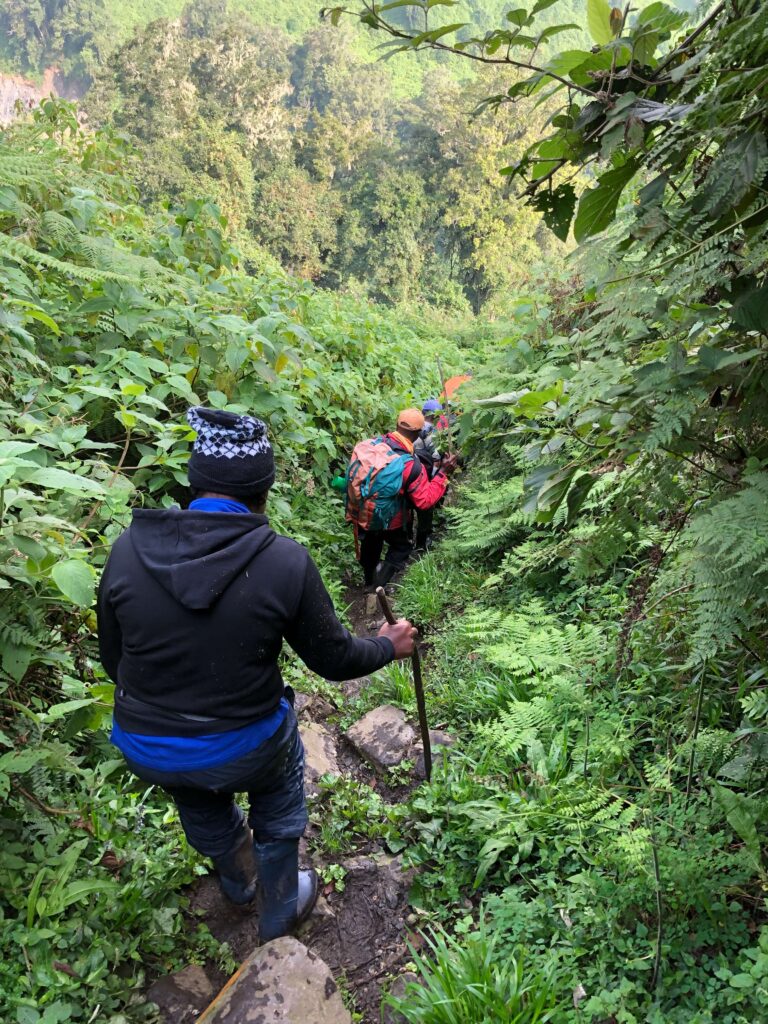
Mt Rwenzori Flora


Guys, this mountain’s hiking challenges never end. If it’s not you, then it’s your colleague who may get an injury, a muscle strain, twist a knee, the list is endless. And there you have to jump in and help.
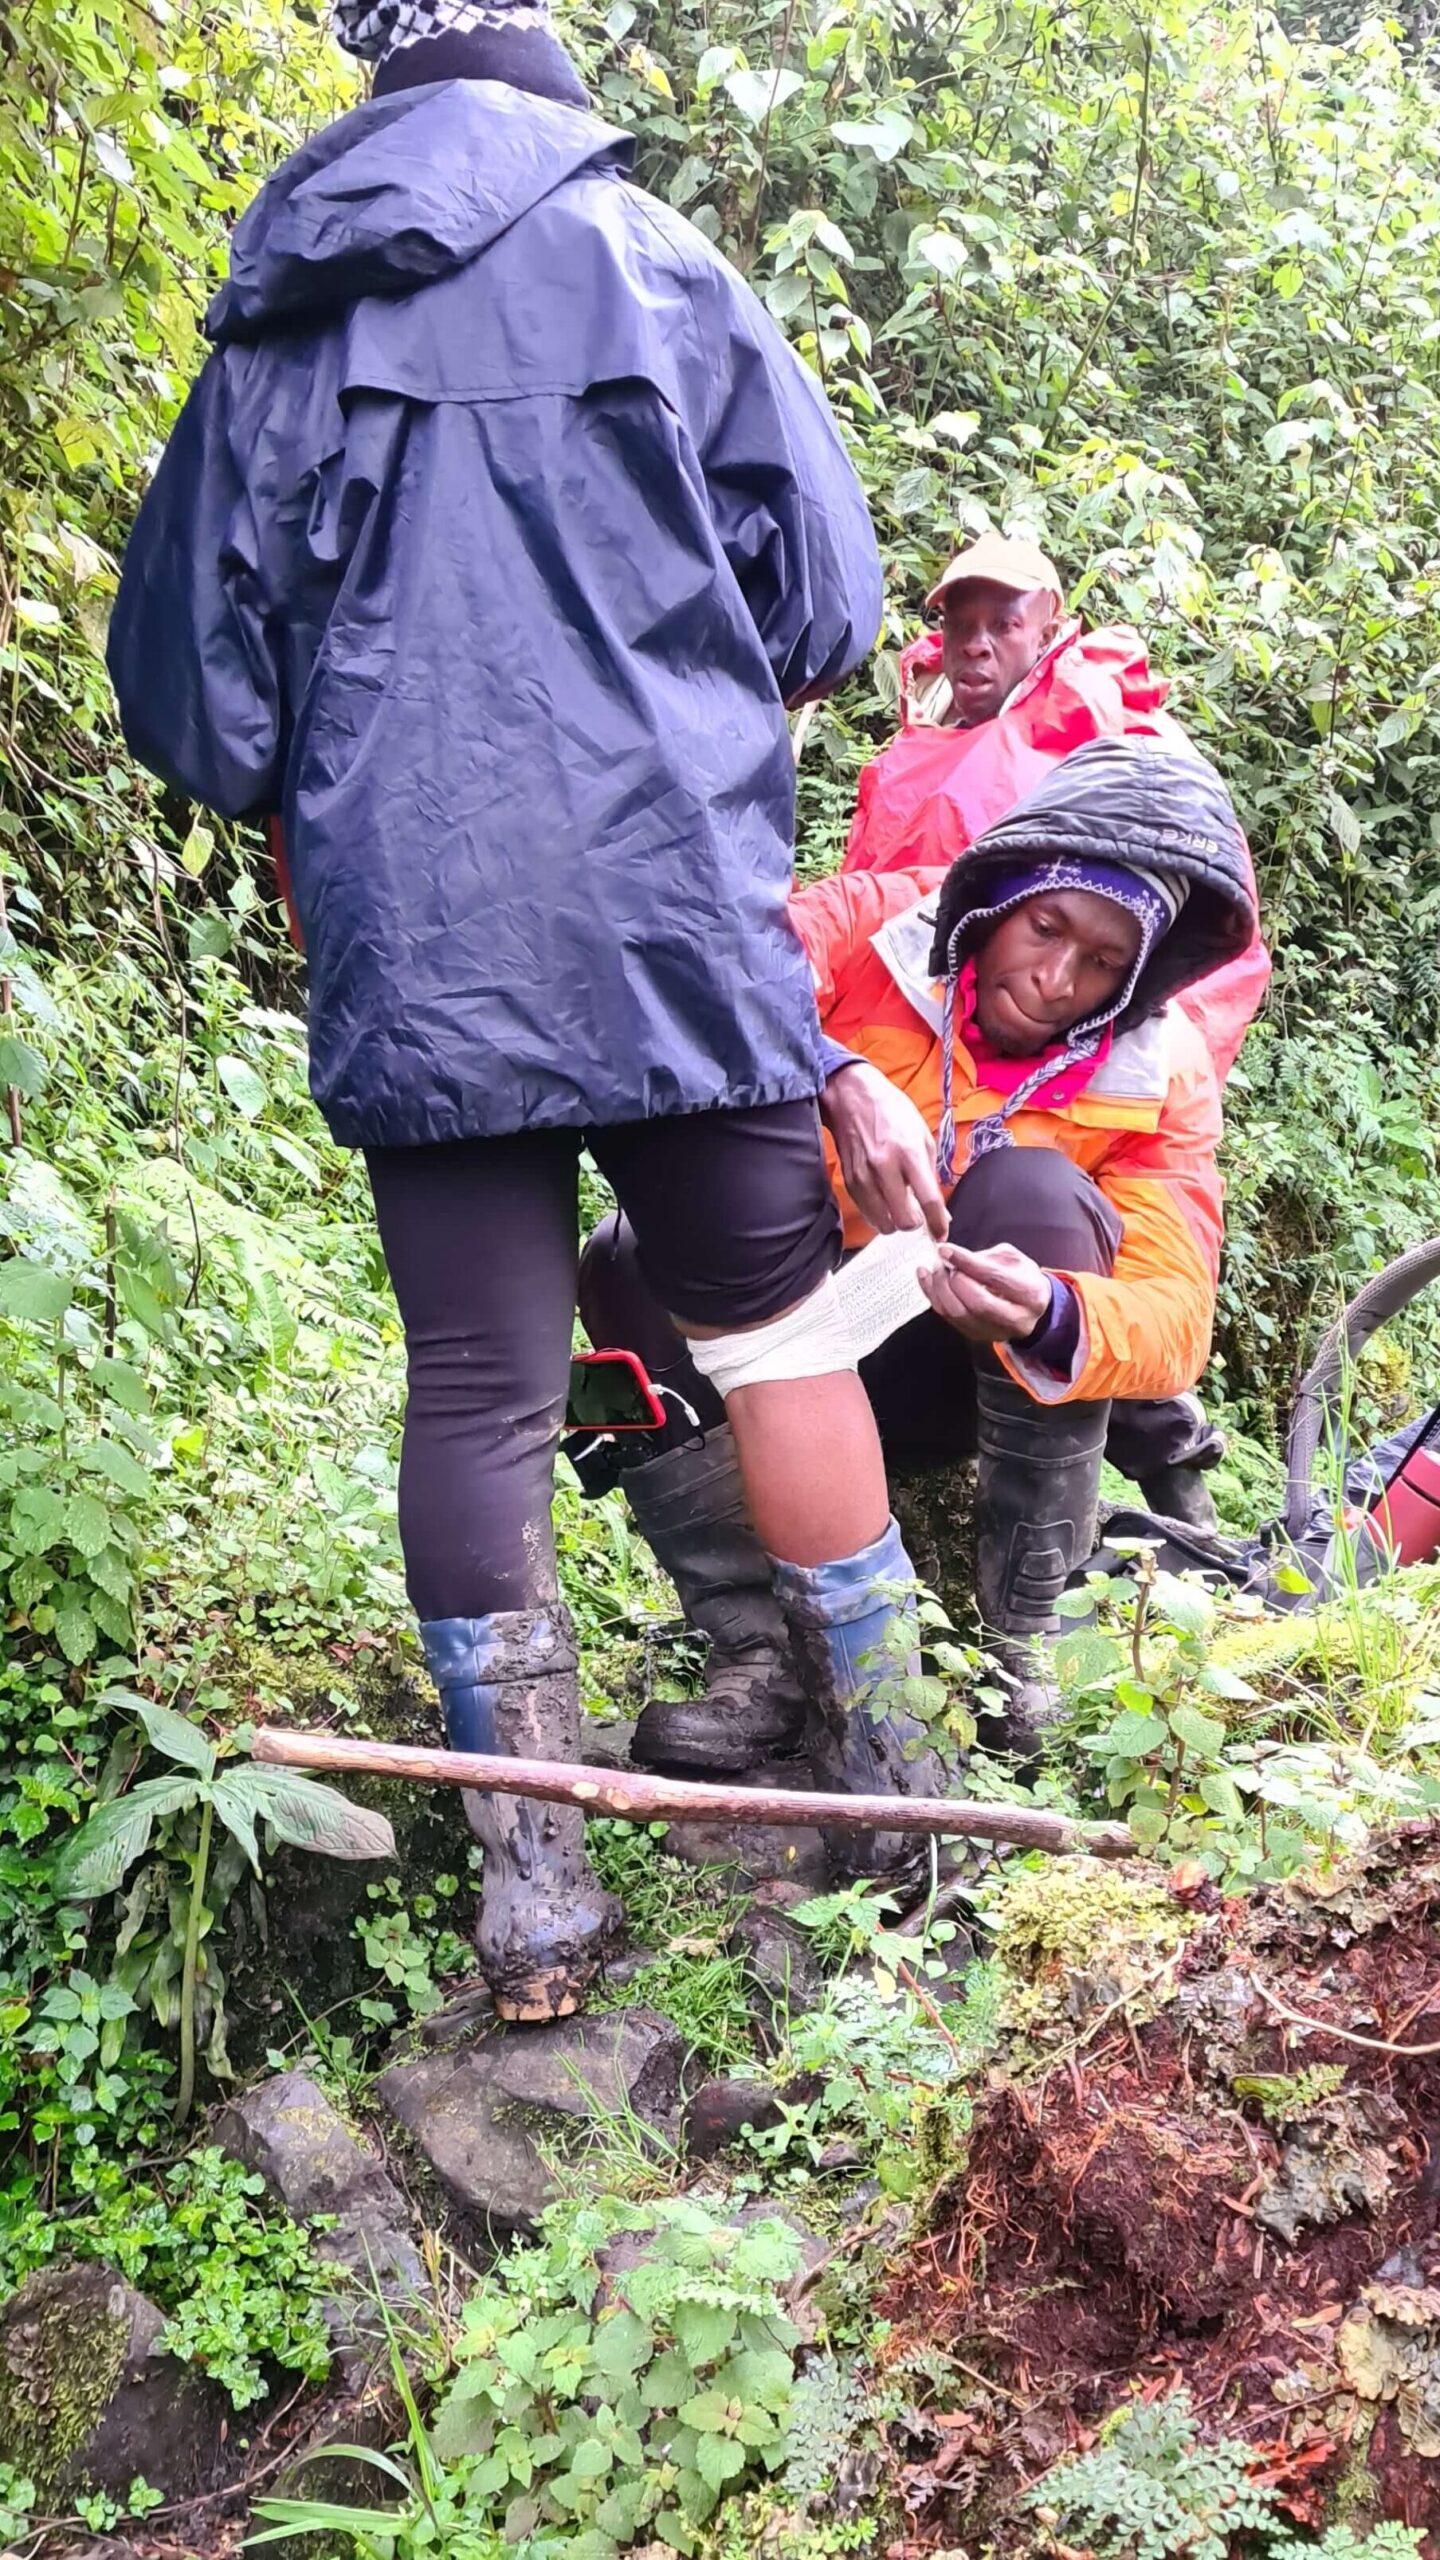
As one who has always had a small personal “first aid kit” with me due to my previous knee pains, I knew that if I was not in need any of the items in my kit, someone else would. I was right.
At our first rest point while heading to John Maata camp, a colleague developed knee pains and had a bandage already fixed on the knee. She requested that I help with the Diclofenac spray to relieve the pain and then later refix the bandage. After that, we continued ascending.
I can’t recount how many times I did this on this whole trail but one lesson I learnt that you should always have some sort of “medical kit” on you. A personal one.
I also remember a moment one of the hikers wanted to share an apple amongst 3 people. I so happened to have a cutter knife on me which was a good idea by the way. So I grabbed it out and one of the colleagues managed to split the apple in 3 portions. However, before he knew, the knife had feasted on his thumb finger.
Blood was all over the place so it was another moment for me to pull out the “medical kit” and look for the kinesiology tape (KT) and tissue. I used the same cutter knife to cut part of the KT tape and then helped tie it around the bleeding area.
This was when we were ascending to Nyabitaba camp but that doesn’t make it absolute. You should keep some sort of “first aid kit” with you as you go for this hike. I’ll share about how a friend helped me with some Paracetamol and Diamox (acetazolamide) tabs that I needed badly as I struggled to recollect myself on the summit night.
Words alone can’t explain how challenging hiking to John Maata Camp can get and that’s why I’ve decided to compile a 17-minute video not only sharing about the challenging bits but also sharing the beauty of this trek, the flora, the team and lastly how Davis and I experienced it. Below is the video.
In closing
I would say John Maata is that one high school teacher that will punish you but prepare you to pass. This trek will flex on you and yet show you a lot of beautiful things.
It’s on this trek that I could spot a mountain goat that was about 50 meters away in the trees.
The trek to John Maata will beat you but also toughen you up for another challenging section, the ascend to Elena hut, which I’ll write about in ‘Hiking: day 4’. You’ll tear through Nyabitaba to John Maata, but, it will not only give you beautiful views, landscapes, waterfalls but it will lead you to even more beautiful things.
If you happen to give up before you get to the camp just like I witnessed happening to a couple of hikers that couldn’t make it there, the guides and porters are very helpful and they’ll do all that is in there means to rescue you and bring you to a safe place like it was done for a couple of hikers in my group.
However, that shouldn’t be your focus point. Your focus should be to train, train and train some more. At least make sure you can hike 30-40km within 7-9 hours before you go for this hike. You will not put your life and the lives of others in danger in the case that you need rescue or evacuation.
Don’t forget to checkout my day 1 and day 3 experience and click on the bell on the bottom left so you don’t miss out on future posts when I publish them.